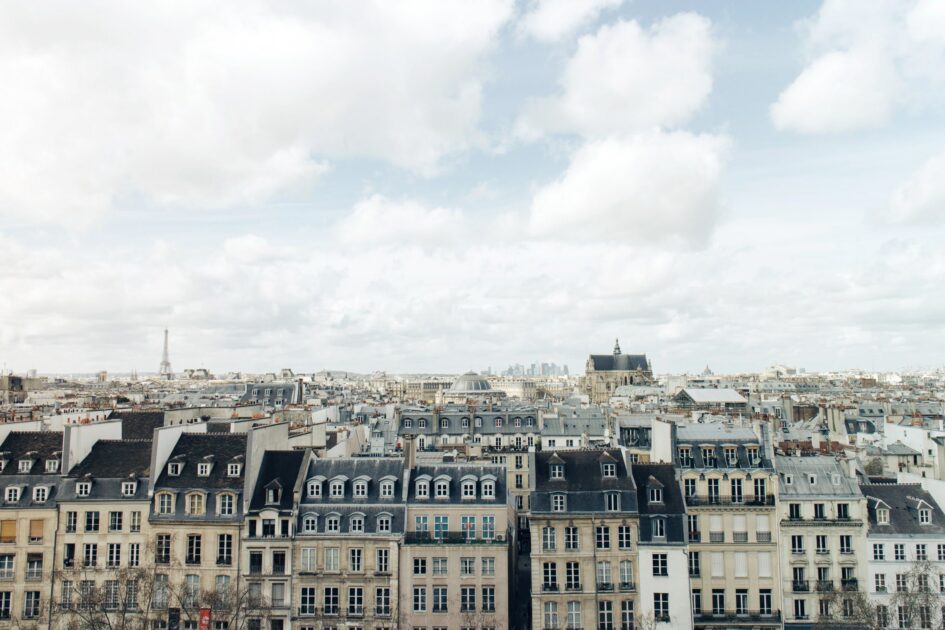
Architecture is another common type of watercolour painting and when thinking about what kind of architecture to attempt, I was reminded of my trip to Paris and how common it was to see people set up their easel and paint the architecture “en plein air.” There were also numerous street vendors selling watercolour prints of famous monuments and streets. I chose the photo I took of the smallest house in Paris. A tiny building tucked in a row of towering Parisian apartment buildings lining the Seine.
Like my last painting, I chose few “elements of design” to focus on: line, shape and texture. I decided to follow the advice of one of my library books that had clear steps and techniques (Richmond and Littlejohns, The Technique of Water-colour Painting, London, 1930).
Step 1: Apply a wash. I stuck with a very light grey to capture the smoggy Parisian sky. I have to agree with my book guides when they say, “There is no especial difficulty in laying a wash. It is not a gift. Little more than care, common-sense and practice is required.” I mixed my grey, washed the whole paper in water, then added the grey in its most saturated form at the top. I then added water with each brushstroke giving me a gradated wash.
Step 2: Outline in pencil. fairly simple step, that sets the painting up for success. (Granted, I should have probably used a ruler, but It turned out O.K.)
Step 3: Lightest colours first. I started with my cream coloured buildings and gradually moved to the darker colours making sure to keep my hands out of the wet paint.
Step 4: Details. After letting the colours dry, I am able to add in details with a fine brush. You can see in the video how I do this in steps, letting one building dry before moving on to another.
Step 5: Scratching Out. Great technique for fixing mistakes! A few times, I put my hand in some dark paint and stamped it on a lighter part of the painting. Disaster! Luckily I tried this and it worked. I dripped some clean water on the mess and blotted it with a tissue. Crisis averted! I also use this technique to define the cement blocks in the bottom half of the painting. I painted a line of clean water on the dried wash and blotted away the colour.
Step 6: More Details. I add the final touches to the buildings and the bricks and prepare myself to add the tree in the foreground. This is always the part that makes me nervous – adding an object overtop of hours of work. If I screw up the tree, the painting is toast. I take a deep breath and channel my good ol’ friend Bob Ross.

The final product:
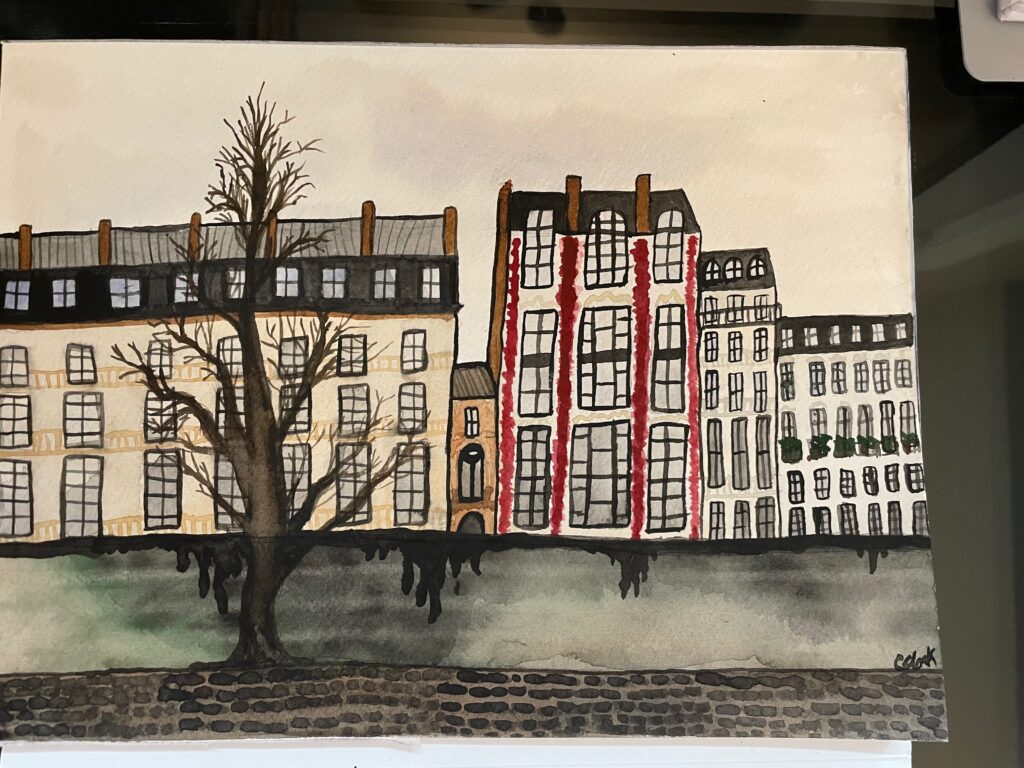
Enjoy the time lapse video! (Sorry the first section is out of focus).
Leave a Reply
You must be logged in to post a comment.